IMG_4047

10 Things to Do to Take Care of Your Pool Table

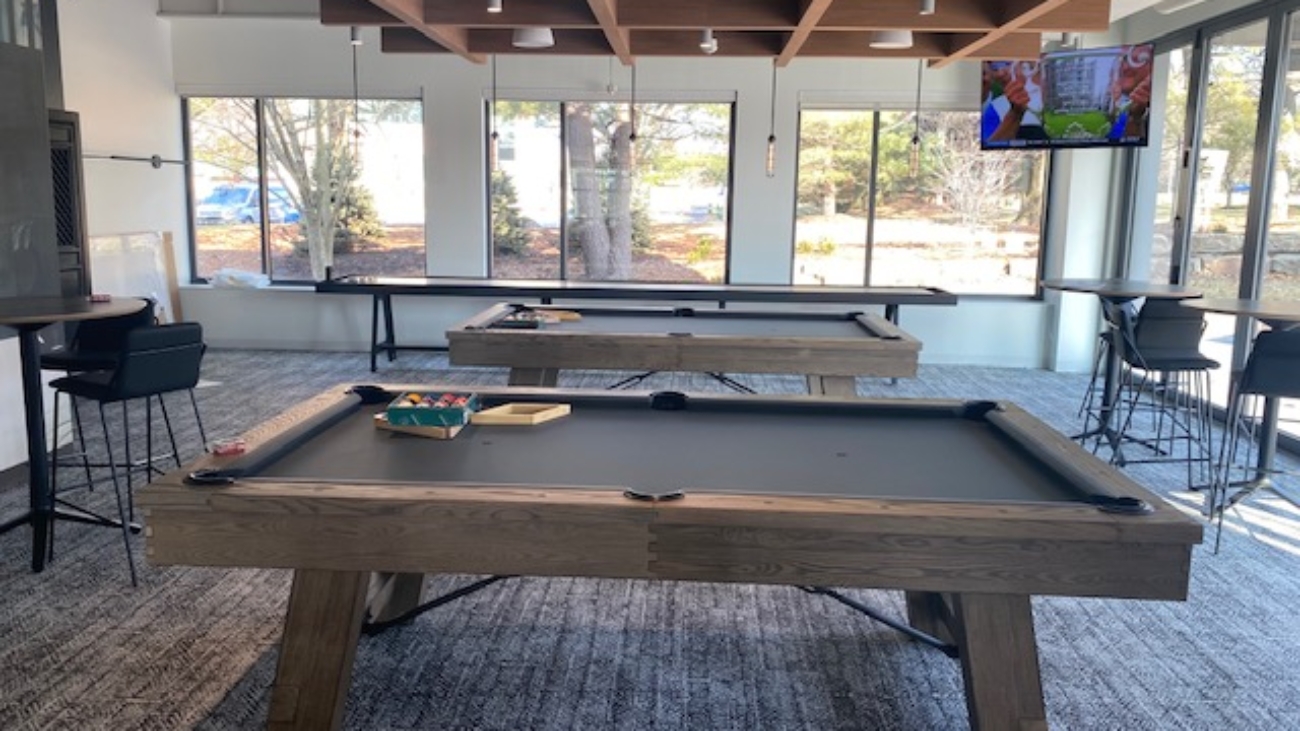
So you’re the proud owner of a pool table. Great! But just like any other piece of furniture, your brand new pool table can easily show signs of wear, unless you take extra care of it. So what can you do to keep it looking brand new?

In this post, we’ve compiled our list of tips on how to keep your pool table (or any pool table, for that matter) in pristine condition. And hopefully, keep it in good condition for the rest of your life.

Let’s dive right in, shall we?


Tip # 1: Cover your pool table when not in use

Because pool tables have a felt surface, they easily accumulate dust when left uncovered. To keep this from happening, make it a habit to cover the surface after using it. Doing this will also protect the pool table from the elements, keeping the color of the felt surface from fading. 


Tip # 2: Use a soft, damp cloth when cleaning the surface

You may dampen your cleaning cloth with water or any non-corrosive wood polish to keep your pool table gleaming like new. If possible, use a microfiber cloth when wiping down the surface, and do so using soft strokes only. This will ensure that you don’t accidentally scratch the surface.


Tip # 3: Use a vacuum cleaner to get rid of any dust

Make it a habit to use a vacuum cleaner to get rid of any chalk or dust that may have accumulated on the surface of your pool table. When using a vacuum, see to it that you set its suction at the lowest level. 


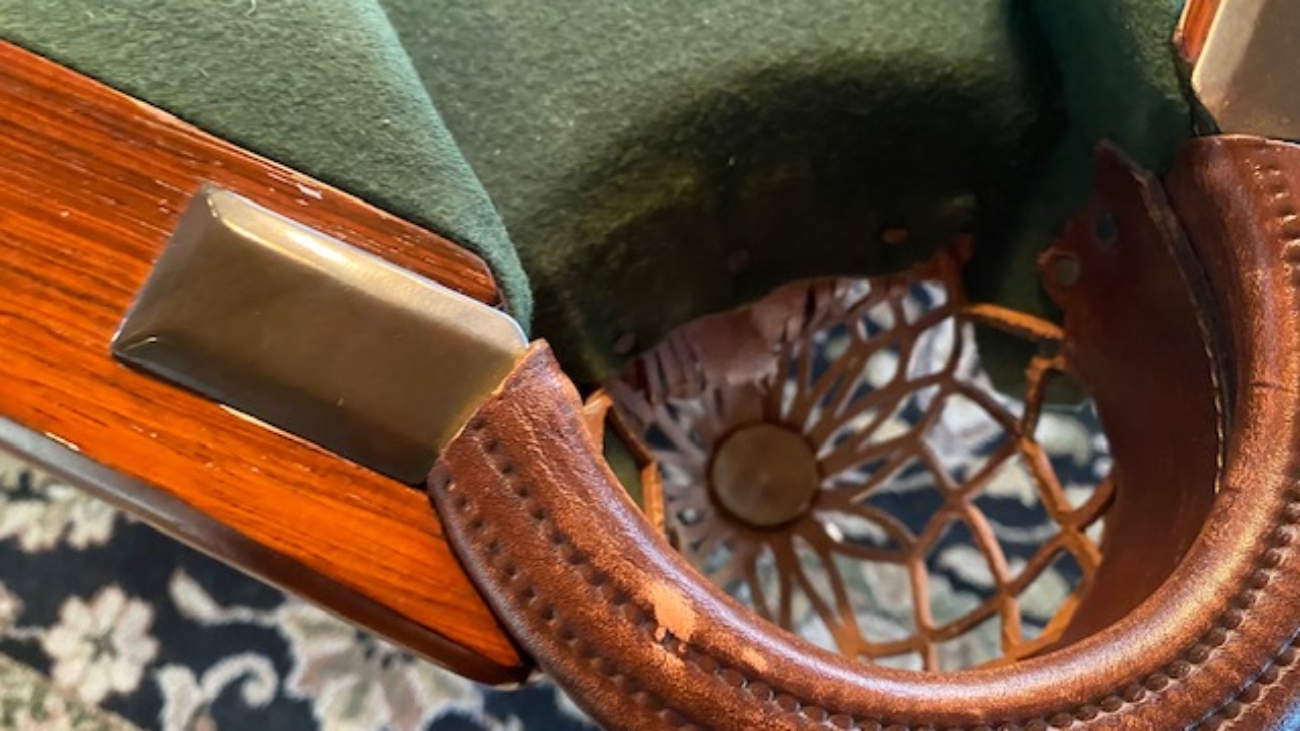
Tip # 4: Clean the drop pockets with a soft, damp cloth

When cleaning the drop pockets, only use either water or any clear leather cleaner, to maintain the quality of the leather pockets. Don’t drag your cue right over the drop pockets to prevent marks on the leather.


Tip # 5: Don’t forget to regularly clean your billiard balls and cues

You can use either detergent and water, or you can use a ball cleaner to disinfect your billiard balls. Wipe down your cues and store them in a cue rack. And see to it that you do not expose them to extreme hot or cold temperatures to prevent warping. 


Tip # 6: Don’t sit on or place other stuff on your pool table

Resist the urge to sit on your pool table surface or place groceries and other items on it. The felt surface of the pool table is highly sensitive to pressure, so adding unnecessary weight will only cause damage and/or misalignment.

If you really need countertop space, then you can always purchase a pool table that comes with a dining top.


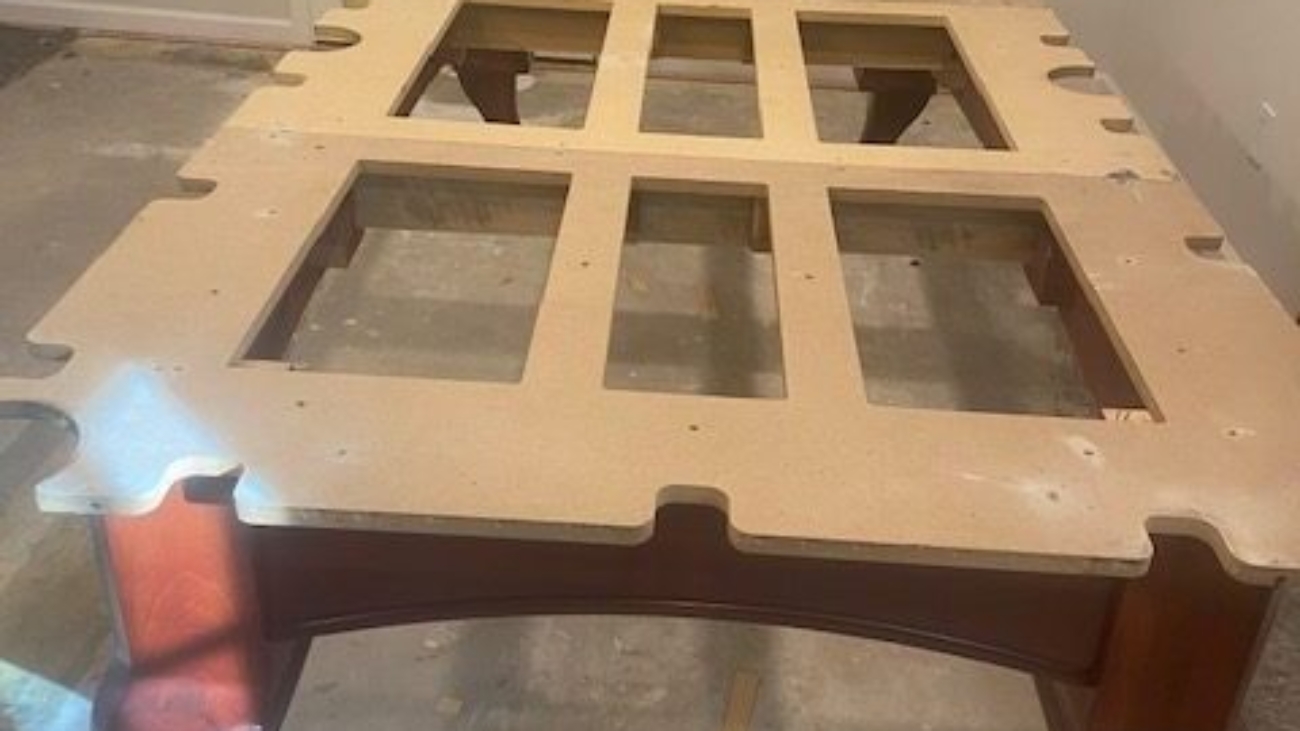
Tip # 7: Refrain from moving your pool table

If you have to, it would be better to hire the services of professional pool table movers. This will ensure that you do not accidentally cause damage, for example, ripping the felt surface. Also, professional pool table movers have the skills and the equipment needed to ensure that the table is at the right level for its position.

Of course, you can attempt to move your pool table by yourself. In fact, we have put together this guide to help you disassemble your pool table the right way. 

But you can always choose to work with us instead! Just click here to talk to one of our expert pool table movers today. 


Tip # 8: Don’t smoke anywhere near the table

Again, keep in mind that pool table surfaces are highly sensitive to the environment and easily damaged as well. So you’d do well to remember not to smoke anywhere nearby unless you want to leave cigarette marks on your felt surface.


Tip # 9: Don’t go for high-risk shots

If your idea of a billiard game is taking all those high-risk shots, then expect to see damage to your felt surface. And when that happens, well, you know who to call for pool table felt replacement! (Hint: That’s us!

But really, it’s possible to have fun playing without leaving rips, holes, and marks on your pool table. 


Tip # 19: Don’t place drinks on the table

This reminder should go without saying, seeing that the felt surface of pool tables can be easily damaged. Plus, your drinks can leave a mark on the wooden surface of your board as well. So better just place your drinks somewhere other than your brand new pool table.

And that’s it! That’s all you need to do to keep your pool table looking brand new and in good, playable condition.


Need a professional for pool table repair or transport? That’s what we’re here for. We’re your team of pool table movers and everything in between. And we’d definitely be glad to help! 


Send us a message today or call us at +1 8453895470 for more details about our services.

IMG_4182

A Beginner’s Guide to Pool Table Disassembly

This guide covers all that you need to know regarding the pool table disassembly process. If you need expert assistance, please do not hesitate to reach out to our team of pool table movers.


Moving your pool table to a different location? If you’re planning to hire a team of professional pool table movers to do the task for you (hey, that’s us!), there’s really nothing to worry about. But if you’re planning to attempt the feat yourself and save on the cost of hiring pool table movers — now that can be a bit of a challenge. 

For one thing, standard pool tables are large and heavy, which means you’ll most likely need to disassemble your pool table in preparation for the move. Now a lot of things can go wrong in the process, so we decided to put together this brief guide to help you out in that area. 

The steps we’ve outlined below are the exact steps we also take when moving our clients’ pool tables. So if you have any questions regarding this guide, feel free to holler our way!

Before anything else though, please note that this guide is for moving standard, wood-framed pool tables only. If your pool table is of a different variety, please reach out to us for advice or look up a different guide for your type of pool table. 

Before Disassembling Your Pool Table

We’re pretty sure you can’t wait to get to work on your pool table, which is how we feel as well before each and every move. BUT before you dive right into the entire pool table disassembly process, please make sure that you’ve taken the right safety measures. We wouldn’t want any unwanted incidents to happen, do we? 

Since disassembling standard pool tables requires a lot of heavy lifting, make sure that you have someone who can assist you in the process. You’ll also need to wear eye protection, just to be on the safe side of things.

All set? Good! Now let’s get down to business.

An Overview of the Pool Table Disassembly Process

Disassembling your pool table doesn’t really have to be a difficult process. It’s fairly easy, so long as you go into the task with an idea of how to go about things. Never mind if it’s your first time moving a pool table! We’ve outlined the steps below for you to follow.


Step 1: Make sure you have the right tools

Just as with any other complex process, we start with the basics. For pool table disassembly, you will need the following:

  • Flathead screwdriver (or, needle-nose pliers)
  • Drill with a screwdriver bit
  • Wrench
  • Protective eyewear


Step 2: Start first with the drop pockets of your pool table

Let’s start with the easiest piece to remove — the drop pockets.

For this step, you’ll first need to lie on your back. Then, using either a pair of needle-nose pliers or your flathead screwdriver, take out the staples that keep your table’s pockets in place. These staples can easily fall on your eye once they’re dislodged, which is why wearing protective eyewear is important.

Once you’ve taken out all the staples, set aside the pockets and proceed to the next step.


Step 3: Unscrew your table’s side rail bolts

To remove the side rails of your pool table, you’ll first need to use your wrench to remove the bolts keeping them in place. Each rail usually has three bolts. Some side rails are set up as one piece, while others may be in multiple pieces. Whatever the case, make sure that you carefully unscrew each bolt so you can gently detach the side rails from the table. 

Once you’re done, bag the bolts and screws you’ve detached and set aside the side rails. Needless to say, you’ll have to make sure you don’t lose a screw so you can easily reassemble your pool table later.


Step 4: Take off the felt

After you’ve detached the side rails of your pool table, you can now proceed to the removal of the felt from the table surface. This is one of the most intensive steps in the pool table disassembly process, and one of the most crucial parts. 

The felt surface is usually attached to the slate bed either with glue or staples. If the felt surface has been glued on, you can slowly start detaching it from the table by gently pulling the edges backward. If the felt surface has been stapled to the table, then you can use your flathead screwdriver or needle-nose pliers to get rid of the staples. 

Unless the felt surface is worn and needs replacing, take your time in detaching it from the table’s surface so it doesn’t tear. Once the felt surface has been successfully removed, fold it and then set it aside for packing.

Find this step too challenging? Feel free to reach out to our team of pool table movers today.


Step 5: Detach the slate bed from the table

Now that you’ve already removed the felt surface, it’s time to deal with the slate bed. For this, you’ll need to use your drill fitted with the screwdriver bit to take out each of the screws that keep the slate attached to the table. 

Some screws may be difficult to spot, especially if the manufacturers have covered them in beeswax coating. If that’s the case for your pool table, you can easily scrape off the coating using the flat end of your screwdriver.

Once all the screws are out, it’s time to set aside the slate bed. Here’s where an extra hand would prove helpful. Slate beds generally weigh about 450 pounds if they’re in one piece. Otherwise, each piece would weigh around 150 to 200 pounds, which can be a lot to lift if you’re on your own.


Step 6: Remove the table legs

And we’re down to the last step! You should have no trouble removing the legs as they’re just attached to the body with just some screws. Once you’re done detaching the legs from the body and securing the nuts and screws so you don’t miss any, it’s time to start the actual move.

Congratulations! You’re done disassembling your pool table! Now it’s time for you to wrap everything up in either shrinkwrap or some thick blankets to prevent any scratches to the pieces you’ve just detached, and then transport these to their new location. 

Need help moving? We got you. Reach out to our team of expert pool table movers today and let’s talk about how we can help.

IMG_4086

The Pool Table Installers’ Handbook for Reassembling

Now that you’ve successfully disassembled and transported your pool table without breaking the bank or your back in the process, it’s time for you to start putting the pieces back again. But how exactly do you do that?

As pool table installers ourselves, we get asked that question a lot. And so we decided to come up with a brief guide to help you reassemble your pool table, even without enlisting the help of professional pool table installers. 


To start with, make sure you have the following tools on hand:

  • Flathead screwdriver (or, needle-nose pliers)
  • Drill with a screwdriver bit
  • Wrench
  • Level
  • Protective eyewear

An extra pair of hands wouldn’t hurt too!

All set? Let’s get started with the actual reassembly process.


Reassembling your pool table

If you disassembled your pool table yourself, then you most likely already have an idea as to how to put the pieces back together. If, for whatever reason, that is not the case, follow the steps outlined below.


Step 1: Gather all the disassembled pieces in one place

The easiest way to begin with the reassembly of your pool table is by making sure you have all the pieces of your table intact. Double-check the pieces and see to it that not a single one of the nuts, bolts, and screws are missing.

Reassemble everything right exactly where you want your pool table to be. This way, you won’t have to try lifting the whole thing once you’ve already put all the pieces back together. 


Step 2: Re-screw the legs

Notice that we’re going to do everything in reverse order. Since the last step in the disassembly process is removing the table legs, this is the first piece that we will be putting back. 

To do this, screw the legs back in place and secure them with the nuts you have detached during disassembling.


Step 3: Put back the slate bed

Once you have already secured the table legs, it’s time for you to re-attach the slate bed to its frame. Some slate beds are made as one piece, while others come as 2 to 3 slate pieces. If you’re working with 3 slate pieces, make sure to start reattaching the middle piece first before proceeding with the other slate pieces.

After positioning your slate bed back in its frame, take your level and make sure that the surface is straight before drilling and screwing the slate back down. 

This is going to be heavy work, so make sure to enlist somebody else’s help for this. Of course, you can always reach out to our team of pool table installers if you need professional assistance!


Step 4: Reattach the felt surface

Before reattaching the felt surface though, make sure you wipe the slate bed down with a clean microfiber cloth. Doing this will ensure that the surface is flat and clean.

If you’ve saved your felt, then you can simply reattach it the way it was previously attached to the table. 

To glue back your felt surface, you’ll need a felt adhesive specific to pool tables (a 3M Super 77 Glue will do, for example). When gluing the surface, make sure to do this portion by portion, giving the surface time to set before proceeding to the next section. This is a slow process, for sure, but it’s always better to go through this process slowly than rush things and risk ending up with an uneven felt surface.

If you’re just stapling back the felt surface, simply reattach it the way it was stapled before. As with the process of gluing back the felt, you want to make sure that the surface stays smooth and even.


Step 5: Put back the side rails

Once you’re done with reattaching the felt surface to the pool table, it’s time for you to put the side rails back in place. You will need your wrench for this step as you’ll have to put back the bolts where they should belong.


Step 6: Re-secure the drop pockets

Last but not the least, restaple the drop pockets to the side rails of your table. You’ll have to do this the way you disassembled them previously, by working from the underside of the table. Don’t forget your protective eyewear for this step! You wouldn’t want the staples to accidentally get into your eye.

And that’s it! That’s all you have to do to reassemble your pool table.

Looking for pool table installers?

Does reassembling your pool table sound like a lot of work? We hear you. The good news is, you can always choose to leave the heavy lifting to us! 

Our team of professional pool table installers currently caters to clients in several states, including New York, New Jersey, Pennsylvania, Connecticut, and Maryland. 

Send us a message today or call us at +1 8453895470 to get a free quote.